Monday, 27 May 2013

Berry Muffins.

It is Bank Holiday Monday, so what do I do? I bake, of course! We had some blueberries that needed to be eaten, but not quite enough for my usual Hummingbird Blueberry Muffin recipe so I decided to make up the rest of the weight in white chocolate chips. However, this recipe is so versatile that you could add any berries you want! Raspberries, blackberries, blueberries or you could even turn this into a chocolate chip recipe. As long as your added ingredient(s) weigh 250g!

Ingredients:

360g plain flour
370g caster sugar
1tsp salt
1.5tsps baking powder
1.5tsps bicarbonate of soda
375ml buttermilk
1 egg
1.5tsps vanilla extract
70g butter (melted)
250g other ingredient(s) - (in this case I used 200g blueberries and 50g white chocolate chips)

Method:

1. Preheat the oven to 170˚C.
2. Put your flour, sugar, salt, baking powder and bicarbonate of soda into a large bowl (please note the fact that it needs to be a large bowl, there's a lot of ingredients) and combine them using a wooden spoon.
3. In a different bowl, lightly whisk together the buttermilk, egg and vanilla extract. 
4. Slowly pour this mixture into the dry ingredients, constantly beating. 
5. Once all of that is thoroughly combined, add the melted butter and beat the mixture until it is even and smooth.
6. Finally, fold in the blueberries and chocolate chips.
7. Spoon the mixture into muffin cases (the ones pictured were a birthday present from Olivia Ellen, I think she bought them off ebay - similar here ) and bake for 20-25 minutes or until they are a nice golden brown colour and you have done the skewer test. 
8. Allow to cool before eating. 
Enjoy!
Cakesfordorothy xoxo

Follow me on bloglovin' to find out when I post new recipes!

Friday, 24 May 2013

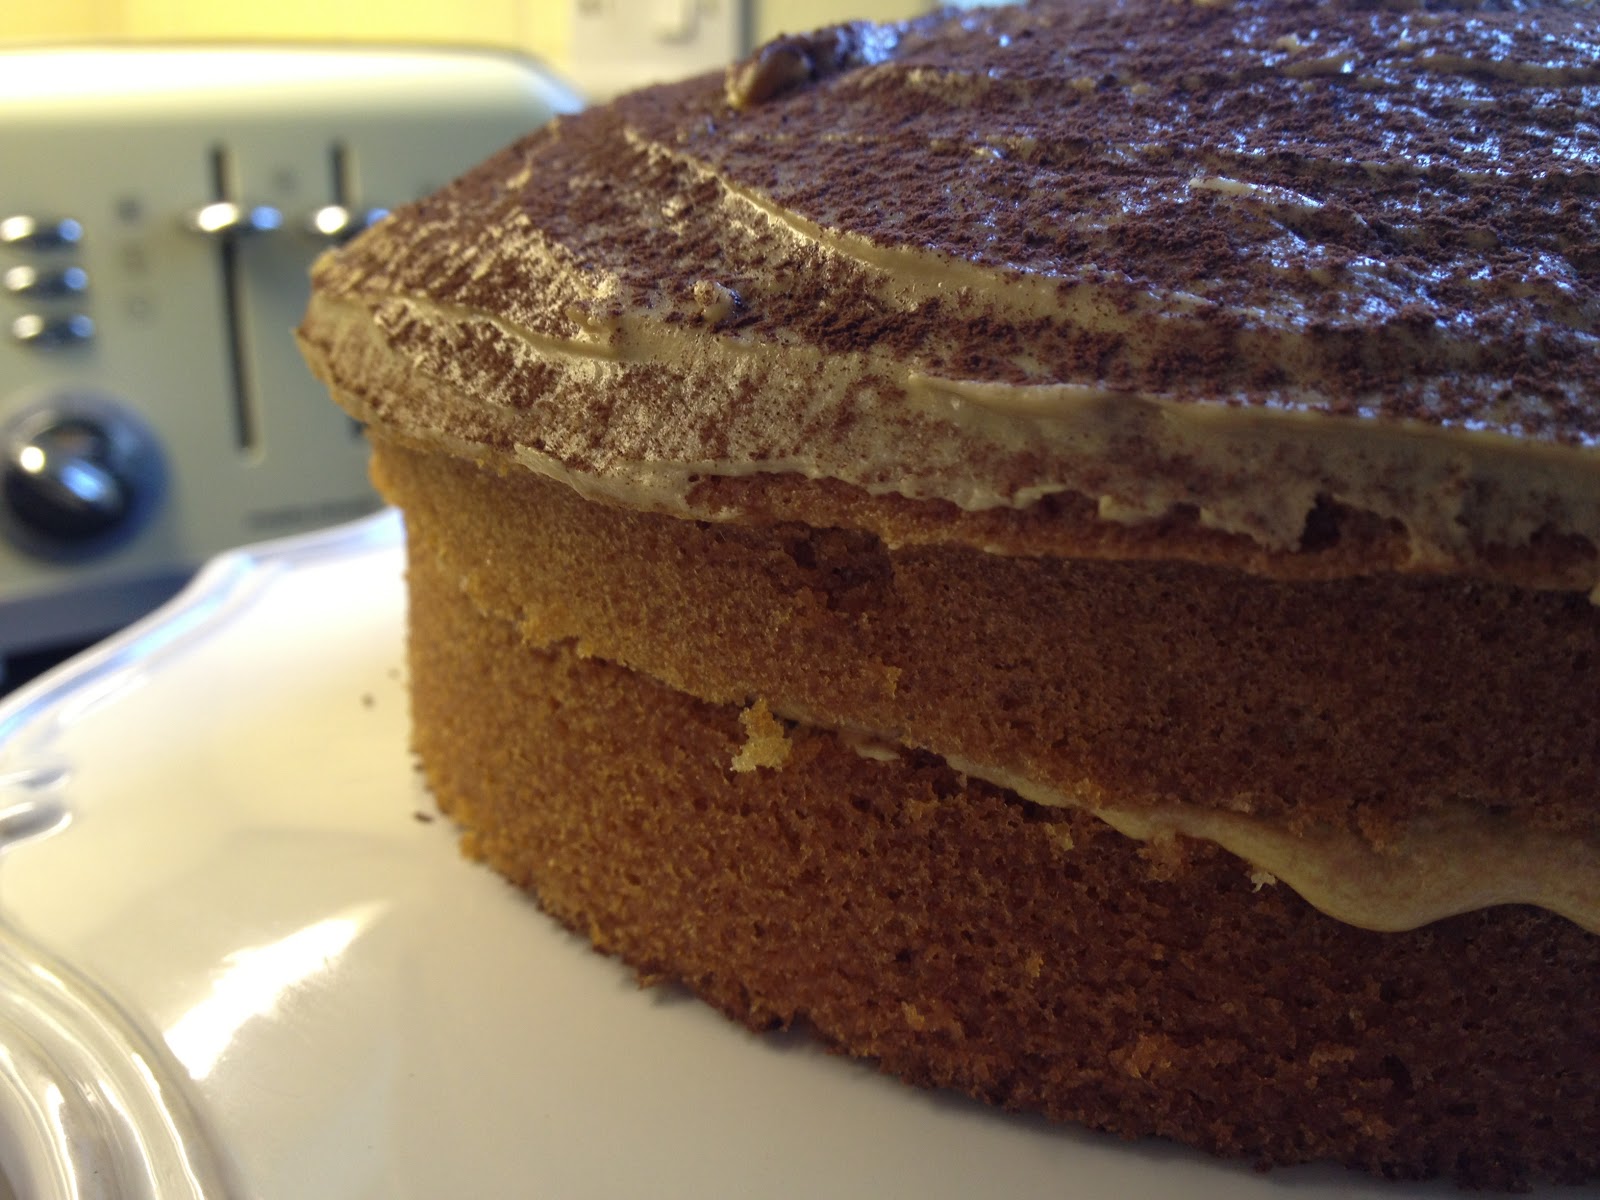
World Baking Day 2013 - Coffee Cake.

Sorry this is a little late, I had 7 fairly demanding exams this week and so if I wasn't sleeping or eating then I was revising. This meant that I didn't find time on Sunday to participate in World Baking Day (boohoo) but I wasn't going to let that stop me from making my coffee cake as I was really looking forward to baking something new. Therefore, I baked it today instead! 
I used Jennie Brotherston's (all the things I eat)'s level 58 recipe from the World Baking Day website. It wasn't particularly difficult and I wasn't expecting it to be but it was one of the few recipes that appealed to me and that I had the ingredients to bake it with. 
Firstly I baked the cake as directed. There was so much mixture and the cake turned out quite thick so you may wish to half the ingredients.
I then cut the cake into two halves and sandwiched them together with coffee buttercream (that contained a dash of rum flavouring which I found to be very subtle but bought out the coffee flavour very nicely). I used the remaining buttercream to cover the top of the cake too.
Finally, I sprinkled some cocoa powder over the top to finish it off. Et voilĂ !
Overall, I'm really happy with how the cake turned out. The ratio of buttercream to cake is perfect and the cake itself was light and fluffy.
Enjoy!
Cakesfordorothy xoxo


Monday, 20 May 2013

GUEST BLOGGER: Olivia Ellen's Chocolate Battenberg Cake!

Today I have I have another guest blogger posting. She's one of my best friends and currently runs a fashion and beauty blog, which I'm sure many of you will be interested in! Also, I am still looking to continue this every other Monday so if you are a blogger who is interested in guest blogging on here then feel free to email me on: cakesfordorothy@gmail.com, even if you are unsure what it's about. Anyway, I'll hand you over to Liv...

Hi, I'm Olivia from Olivia Ellen and today I wanted to share this simple recipe with you. Although my blog is a fashion and beauty blog, I am also a keen baker on the side and so when I saw a recipe for this I was drying to try it out. You don't need any specialised baking skills - just precision and time, as it is quite a long process but it's completely worth it in the end!  

Ingredients:

250g unsalted butter
250g caster sugar
1tsp vanilla extract
235g self-raising flour
100g ground almonds
45g cocoa powder
6 medium eggs
3tbsp apricot jam
500g golden marzipan
icing sugar for dusting

Equipment:

I used 4 mini loaf tins although if you don't have these, 2 large loaf tins will work fine.

For the cake:

1. Cream the butter, caster sugar and vanilla extract in a bowl until pale and fluffy.
2. In a jug, beat the eggs and then slowly combine with the butter mixture using an electric whisker on a high speed.
3. Now divide the batter into two parts: sift 140g of flour and 50g of almonds together into one half of the batter. Then sift 95g flour, 50g almonds and the cocoa powder into the other half.
4. Pour into your baking tins and cook for 20-25 minutes at 180 degrees/gas mark 4.  
5. After the cakes are out the oven, leave them to cool for about half an hour in the tins, then remove them from the tins and leave the cool for a further 15 minutes. 6. Now you need to take a large bread knife and slice the tops of the cake off where it has risen, so you are left with a flat surface and a lot of extra cake. Then wrap in cling film and leave in the fridge for around an hour to make sure they are nice and firm. 


To slice the cakes:

Take a small knife (serrated ones work best as they are easiest to cut bread etc with) and a clean ruler. Slicing the cakes was a bit of a guess as to what size to make them but I've found these measurements work well for me - you may need to alter yours depending on the size of cake tin you use.

1. Cut all the dark, crispy edges off each cake.
2. Then measure and slice the cakes down to size so they are 12cm long, 5cm wide and 2.5cm high.
3. Put all the leftover cake to one side.

4. You should now be left with two pale sponges and two dark sponges of around equal size. Wrap them back up in clingfilm and pop them in the fridge while you do the next step. 


To assemble the cakes:

1. Place the apricot jam in a bowl and warm in the microwave for about 30 seconds on a high setting so it is soft and spreadable.
2. Get the cakes out of the fridge and take one dark slice and one light slice. 
3. Spread a thin layer of jam onto the dark slice using a small palette knife and then place the light slice on top like a sandwich.
4. Cut approximately in half, spread jam on one half and then stick the other half on top so you have a checker board effect. Repeat with the other two slices of cake.

 
The marzipan:


1. Lightly cover a surface with icing sugar and begin rolling out your marzipan so it is less than 1cm thick.

2. Taking your knife and ruler, cut the marzipan to a rectangle of 20cm by 15cm. Keep the excess to use for the other cake.
3. Spread over a light layer of jam using your palette knife.

4. Place your cake at the edge of the marzipan, trim down the edge if it is too long and then slowly roll up the cake in the marzipan, being sure it has stuck properly each time. Trim off any excess at the end. 

5. Finally, if you have one, take a cake smoother to smooth down the marzipan so you're left with no fingerprints and a nice even surface.
I know the method looks scary- I was nervous about doing it for the first time - but it's actually quite simple, all it takes is a little patience. There is a lot of cake left over once you've sliced them all down, but you can use this for whatever you want - I used some of it as the sponge in a homemade trifle or you could just eat it.

The cake is perfect for a summer garden party, it'll be really impressive because it looks much more difficult than it looks! Plus it tastes fantastic so give it a try and I hope you enjoyed my first ever guest blogger post!


Olivia Ellen XXX
@oliviaellen97


Don't forget to check out and follow Olivia Ellen!
Enjoy!
Cakesfordorothy xoxo


Follow me on bloglovin' to find out when I post new recipes!
Related Posts Plugin for WordPress, Blogger...
 

Template by Suck my Lolly